Packing our S&S Tandem - getting the frame
into the case
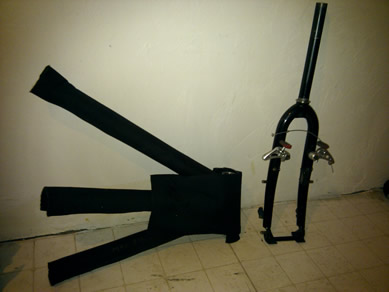
The first time, frame padding will need to be cut
and labeled. Labeling makes it much easier in the future. When
removing the padding, put all the padding for each section together.
This and labeling will simplify putting the padding on in the
future. Here's the pile for the frame case.
 
 
Cut padding to length - use marker to label.
Now here are the pictures you came probably here
to see !
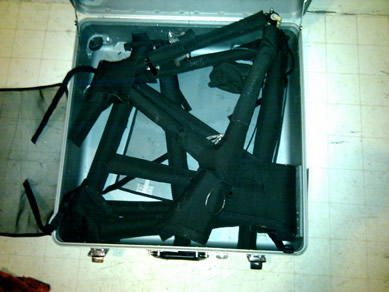
- If using the TSA netting, place it it the bottom of the case
with two parts attached and the top layer opened out. Put the
middle section in the case first. Use excess padding to cover
the BB axles.

- Then lay the front section in the case - leaving an area free
to take the rear triangle.

- Now put the back section in, again using extra padding where
any paint is still exposed.

-
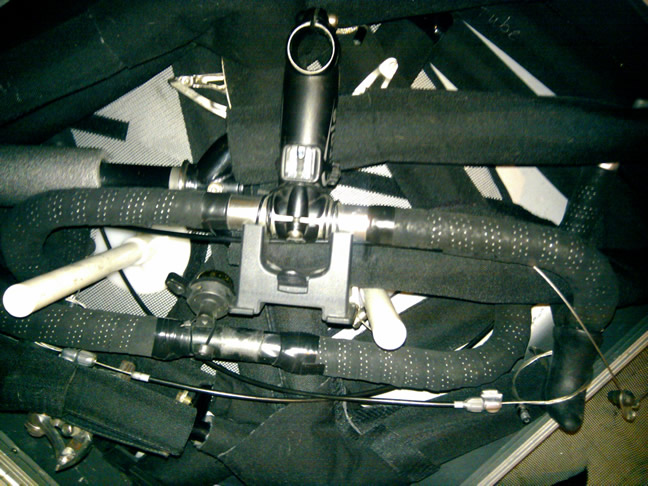
Next fit the fork into the middle of the case
at angle so it fits. Make sure the brakes aren't under pressure
or in danger of being mangled when the case closes. Fit the
captain's bars around the fork and the stoker bars where you
can. Look close, you can see the fork, with brakes facing
down and bars wrapped around one fork blade
 
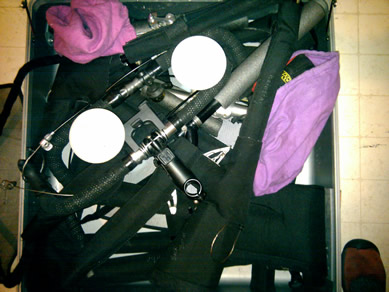 
- Now remove the top of the anticompression pieces, lay the
TSA netting over the frame and see if you can close the case
without resistance. Readjust if you can't. Then replace the
top pieces. Attach the TSA netting securely and close the case.
You will feel a bit of resistance now from the anticompression
members. Make sure no cables are hanging out the sides of the
case.
This case should be under 50 lbs.
|